Have you ever wanted to cut out an image that is either already printed or stamped? What about cutting photos? Here is how you can do that with eCAL or SCAL3. This would probably work with any program that has the print and cut ability. I used a transparency, but you could use vellum or even office paper and a light box (or window).
- Open your file in eCAL/SCAL and size to the size that you want to cut. I also change my cut shape to no fill and add a stroke. Print with registration marks. If I’m printing the same cut file in different sizes, I put each size on a new page and label the pages with the dimensions.

- I have been printing one shape, and then turning the transparency around to print another shape on the other end. I also write the file name and the shape size next to each shape.

- Place the printout over a piercing mat (or a mouse pad) and poke all three of the dots in the center of the registration marks.

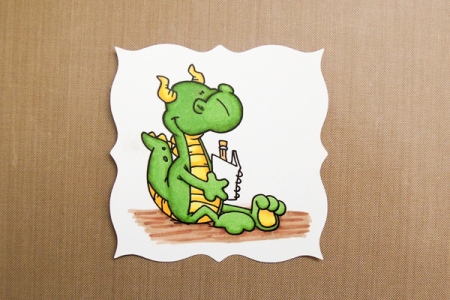
- Place your template over the image you want to cut. The transparency make it very easy to position (and also to avoid the stray marker near the edge of the image
 ).
).

- Use a pen or a marker and place a dot in each of the three registration marks. I like to number them, but that really isn’t necessary.

- Position the print on the mat. Placement doesn’t need to be exact. Just make sure that it isn’t turned sideways. Click on the Print2Cut button and go through the Print2Cut steps like normal.

- The results: One previously printed image that has been cut out exactly like I wanted.


I have a Cameo and an Explore. I have read this 3 times to “get” but Think I am missing something. I am pretty green at this too😟. Sorry. I am to print my unfilled shape on my printer from my software. In my case Sihouette Studio DE or Make the Cut which I just bought. I thentake the printed transparency and merely lay it over the stamped paper or a photo and poke holes in the registration mark centers. Then I put the poked paper or photo on my mat with the same orientation but exactness doesnt matter. Next I slide it into my Cameo and go through print & cut using the shape I cut out of the transparency? I dont trace the stamp/photo but do I trace the transparency shape? And then the cutter simply reads the poked holes as registration marks to know where to cut? For give my ignorance please and fill in where I am dense.
I don’t think this method will work with the Silhouette machines or the Explore. You need a cutter that uses dots as registration marks, and both of those machines use shapes that are detected automatically.
HeatherM
Heather is correct. I have 2 methods for doing this with the Cameo on my blog, but both have been superceded by PixScan technology.
I NEVER thought of doing it this way! Thanks so much for sharing!
Jenn
[…] If you have an eclips or a Zing this process is even easier. Check out Heather’s tutorial here. […]
Great idea…but I have problems with SCAL3 and Prnt2Cut..the registrations don’t print so consequently when detecting the registration marks, cutter doesn’t find them. That’s when I’m using SCAL3 but no problems with Silhouette Studio software…so long as I have the correct size paper in the machine i.e. 8×11.5 standard. And I have looked for instructions via video on Youtube.com … nothing….for scal3 and the co who made scal3 doesn’t have any tutorials. The one attempt I recently did with scal3, it printed out sideways on my printer!! Anyhow, I will play with it but I’ve learn how on Silhouette Studio Design Edition…
Carolyn,
One thing to watch is your mat orientation. With SCAL3 and eCAL, the dark triangle on the virtual mat always prints on the printer in the upper left corner of the page. If you have your mat orientation in Horizontal, that means that the lower left corner of the virtual mat will print in the upper left corner of your paper. I’m not sure how to set the paper size in SCAL3 for the Cameo either, so there may not be any good shortcuts there other than to print a carrier sheet with the shape you want to cut and then adhere your photo or print over that to cut.
Heather
ETA: The triangle printing in the upper left of the paper is true for the eClips and Cameo, but not necessarily for other cutters.
[…] Using Print2Cut to cut stamped or pre-printed images – 1 freebie(s)? […]
Good idea, Heather! I’ll be using this method!
Great idea. I never thought of doing it like this, Thanks for sharing.