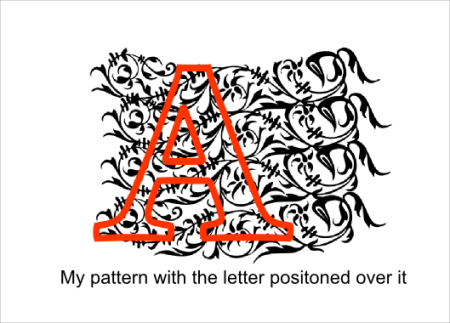
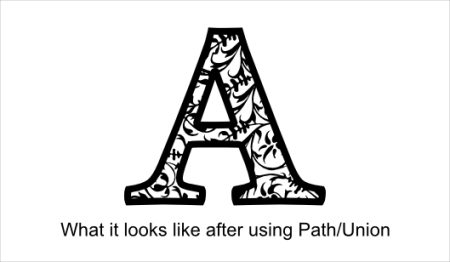
Here is how I make paper piecing files using Inkscape and dingbat fonts. The font I am using here is Sloneczko . Once the dingbat is converted to Path, the steps are the same as for line art.
- Click on the capital A in the tool selection bar on left side of the Inkscape window then click inside the Inkscape page.
- Type the letter of the dingbat you want to use. The letter I am going to use is the capital U.

- With the letter still selected, click on the capital T in the tool bar at the top of the Inkscape window.
- Select the font from the drop-down font list, in this case Sloneczko. Click “Apply”.

- The letter will change to the dingbat character. With the character still selected, from the menu Path/Union. This creates a vector or a “Path”. I also rotate it at this point to reduce paper waste.

- This is the point where I like to simplify the nodes and either connect lines or separate them if needed. See this post for more information on connecting lines. I cover separating lines in this post.
- Select the Path (vector) and from the menu choose Path/Break apart. The Path will become a solid black with several dashed bounding boxes.
- Click off of the character to deselect, then click on the outermost shape that will be the mat or base and move it to the side.

- You can color the pieces for a better idea of how the paper piecing will look, but it isn’t necessary and won’t show in SCAL. Select a fill color by clicking on any of the color bars at the bottom of the Inkscape window while a piece is selected.
- I like to line up smaller images horizontally, a habit I developed when I was using SCAL1 and cutting on a 6×12 mat. This eliminates the need to try to size everything correctly once imported into SCAL1.
- Either arrange your pieces so that they will all fit on your cutting mat at the size you would like to cut them, or if you have SCAL2 you can group (Control G) each color to be in its own layer when imported into SCAL2. See this post for more on using Group and SCAL2.

- If you are using Inkscape 0.47 you need to select all of the pieces of the same color and Path/Union. Do this for each color. This step is necessary to create a vector that SCAL will import correctly.
- Save the file and import into SCAL.
This is what the paper piecing would look like.

This svg file can be used in either version of SCAL. This file is for personal use only. Feel free to link to this post, but the file is not to be shared or distributed in any way.
Download the file from here.


 Posted by HeatherM


