There are times when you need to connect lines in Inkscape. Sometimes you need to do this so that an image will break apart. Other times you just need to connect things to reduce the number of pieces. Like almost any other computer program there are several ways to do this. The method I use most often is to use the node editing tool to overlap the lines and then use Path/Union. Here is how I do this.
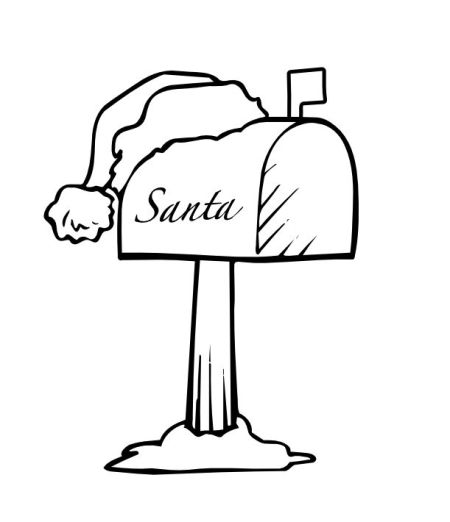
- Here I have a vector with some broken lines at the front of the mailbox and in the post. Some of these I will join together, others I will just delete (also using the node tool).


- Select the vector, then select the node editing tool
 from the toolbar on the left. Nodes will appear on the vector.

- I added another node by double clicking on the line (to help keep the shape), then either click on the nodes or the line and move them down into the line below. Click and pull on the line as needed to shape it.

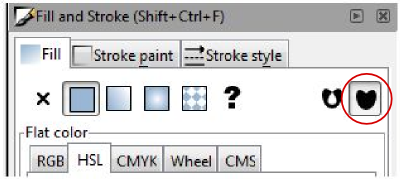
- If a white area appears where the lines overlap, open the Fill/Stroke dialog box (Control Shift F) or click on the Fill/Stroke button
 located on the top tool bar.

- Click on the button in the Fill/Stroke dialog box that looks like a solid heart.

- Here is what it should look like in Normal view.

- Here is how it looks in Outline mode.

- With the vector still selected, from the menu use Path/Union. This is how it looks now.

Continue doing this with each line to be joined. I can now break apart this file and make a paper piecing with a separate piece for the front of the mailbox. This can also be done with lines from different Paths. Just overlap the lines, select both lines, then Path/Union.
Another way to join the lines would be to use either the bezier tool or one of the shape tools to make a shape to fill in the line. If you use the bezier tool, make a closed shape and not a line. Select the original vector and the new shape, then Path/Union. I like Dan99’s tut here for more information on using the bezier tool.


A very good tutorial, especially for novices. I feel the earlier comments have said it all.
“I really like your straight forward explanations. Great job”
“Finally, a tutorial that shows me how to join lines properly using Inkscape.”
I really like your straight forward explanations. Great job.
I agree, finally a tutorial that show how to connect rather than me breaking apart each line and putting back together again. Wow…Thank you
Finally, a tutorial that shows me how to join lines properly using Inkscape. Thanks!
I love your blog and seeing your work on the SCAL forum!
These Tutorials are great. I have been looking for a written tutorial explaining how to make an svg file in inkscape from a color image. Do you have one explaining how to do this. I don’t do well with the video tutorials.
Thank you so much
Hi Patty,
Did you see my tut Tracing images that aren’t black and white using Inkscape? It covers how to adjust your settings to trace images with colors. Kay at Clever Someday has a list of tutorials by image type here that might help you out if that isn’t what you need.
What a great tut, Heather. I hope someday to find time to start trying to do this and to learn from all your wonderful tutorials.
Thanks so much! You are a sweetie!
Big Hugs!
Very nice explanations as always. Love your blog. Thanks!